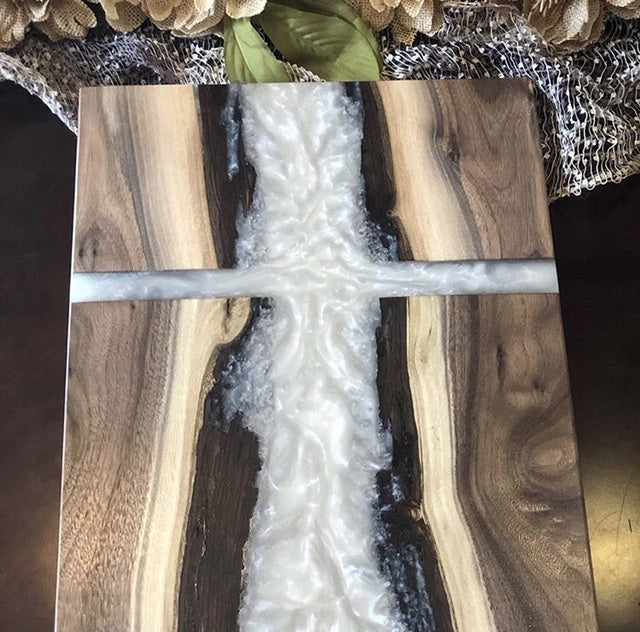
How to make Epoxy Resin Cutting Board?

How to Make a Wood and Resin Cutting/Serving Board? Can you make a Cheese or Chopping/Serving board out of Resin?
These are most popular questions we are getting here at BALTIC DAY Facebook , Instagram , Youtube channels.
Learn how to make an AMAZING Charcuterie Board using wood and Epoxy Resin!

In this tutorial I will teach you how to produce Epoxy Resin River Style Cutting Boards from start to finish! This tutorial is for Beginners/Intermediate level in skill. Here are the Step-by-step instructions.
Before we get started, don't forget to follow us on Facebook , Instagram , Youtube to stay updated with tutorials, videos and Tips!
Before we get started, you will need to know these things:
- Protect your workspace with adhesive Double-sided tape or Painter's drop sheet. This plastic tape is perfect for adhesion on polyethylene, strong and durable holding power.
- Use disposable cups to elevate the wooden cheese paddle to allow resin flow through the edges and drip onto the protected work surface.
Supplies DIY List
- Artwork Resin & Hardener
- Mica Powder Pigments: Pearl/White
- Small Kitchen Heat Gun
- Charcuterie board Template
- Painter's or Double-sided Tape
- Small and Large Measuring Cups
- Stirring Sticks
- Utility Knife
- Cutting Board Oil & Wax
- Disposable Work Surface, Disposable Gloves, Brush, Tissue

Step 1: Choose Wood Type
The first step is to decide which wood to use. When making cutting boards we recommend using any hardwood: Walnut, Oak, Maple, Cherry, Hickory, Mahogany, Ash. Reclaimed White Oak is very strong and can take a beating!
Step 2: Plane the Board
Run the board through the planer several passes until one achieves the desired thickness. Once the board is flat then you are ready for the next step.
Step 3: Choose the shape of the Board
Choose the desired template to make sure all board shapes and sizes are the same.

Step 4: Trace the Template on the wood piece and cut the Inlaid board out
You can use a jig saw or bandsaw to cut out the cutting board.
Step 5: Sand the Cutting board
Starting with 80 grit sandpaper and stepping up to 100, 120, 220 - 320.
Step 6: Setup for the Resin and Mica Powder pigments for the Pour
Use a BALTIC DAY Epoxy Resin pigments and Resin with a 1:1 mix ratio. It's very easy to work with and provides perfect quality and amazing finished look!
Mix 4 ounces of resin and 4 ounces of hardener into one cup, mix slowly 5-7 minutes ( Use a stir stick ).
Step 7: Pour the Colors onto the cutting board
Pour the "Pearl' color onto the board over the top portion of the board.
Spread the Resin around with your hands or the stir stick.
Step 8: Apply Heat from the heat gun
Use the Heat gun to remove all the bubbles that rise in the resin. Keep the gun about 7 inches away to remove all the little bubbles. ( be careful with heat, don't burn the resin )
Once you blended the color, applied heat and achieved the look, leave the board alone for atleast 12-24 hours, letting the Resin cure. After the resin cured, sand away the drips from the resin ( use 220 grit ).
Step 9: Seal the Cutting Board
When sealing the cutting board use only food safe products! Apply the cutting board oil all over the board, you can use your hands or plastic spreader to spread it ( Apply this step 2-3 times to achieve a perfect seal ).
Let the board sit for atleast 15-25 minuts and wipe off the excess oil and apply the way. As the board totally cure, the finish lookins Amazing!

Here are a few DIY Epoxy Resin Cutting Board Ideas for your next Project:


SHOP BALTIC DAY PRODUCTS

Comments
Leave a comment